PC[]
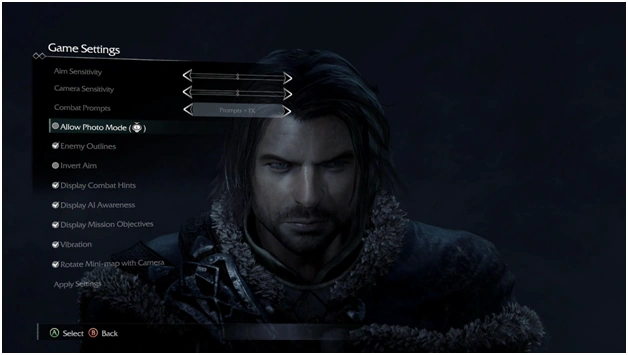
- 3. In the 'Game Settings' menu, turn on the 'Allow Photo Mode (L-Thumbstick/P key)' option.
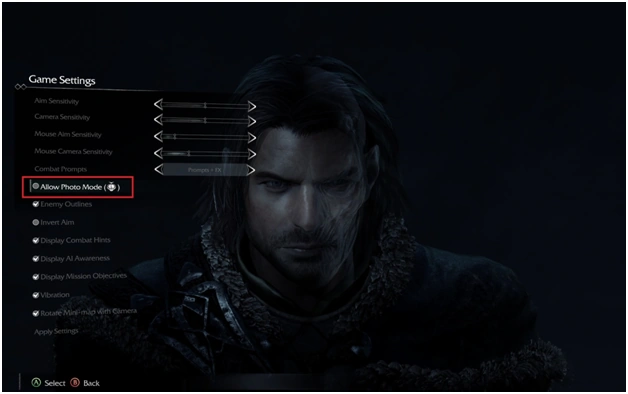
- 4. This will allow you to access the Photo Mode UI from in-game.
- 5. Save the setting change and back out to the Main Menu.
- 6. Next, start a new game or load a save file to enter the game world.
- 7. Once you are in-game, click on the Left Thumbstick if you have a controller installed, or hit the ‘P’ key on your keyboard to bring up the Photo Mode UI.
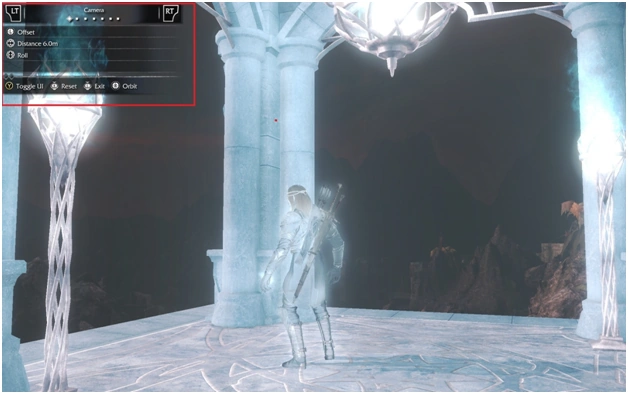
- 8. From here, you can select several different options to set up your shot to your liking. Using the LT/RT buttons on the controller or the '1'/'2' number keys on the keyboard to move through the tab options.
- a. Camera:
- i. Change the camera's position.
- b. Field of View:
- i. Controls the zoom and field of view of the camera.
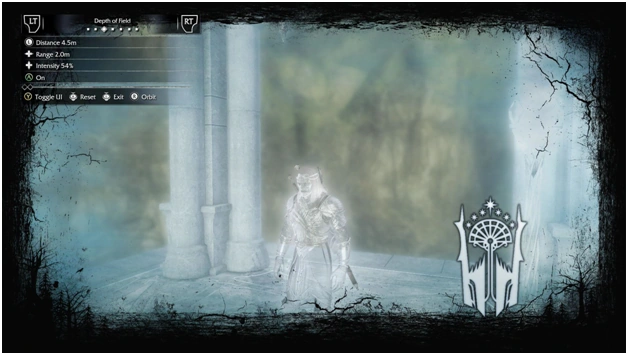
- c. Depth of Field:
- i. Allows focus of range and intensity based on a set distance.
- d. Filter:
- i. Adds a lens filter to the shot as well as the intensity of its affect.
- e. Vignette:
- i. Adds a vignette to the shot, can control size and intensity of the effect.
- f. Overlay:
- i. Adds a frame, such as film bars, to the shot.
- ii. Also able to add textures such as film grain for effect.
- g. Adds a logo to the shot that can be placed almost anywhere on screen.
- a. Camera:
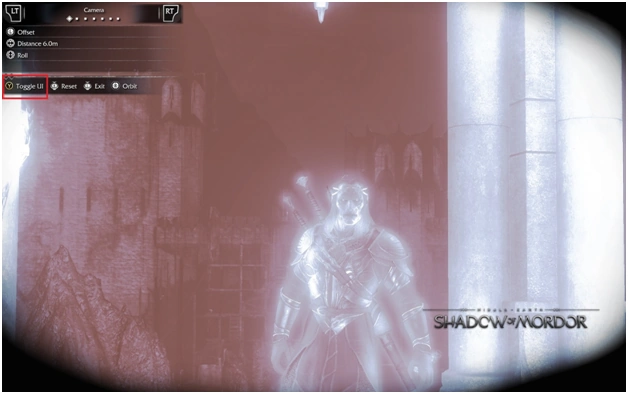
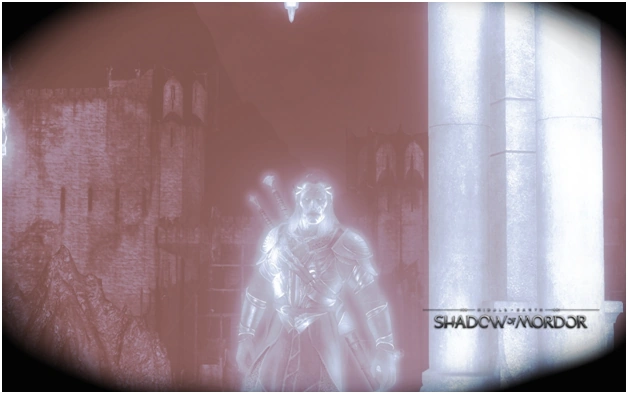
- 9. Once you have the shot you want set up, you can then Toggle the UI so as to not have it in your picture.
Capture and Upload Using Steam Screenshot Feature[]
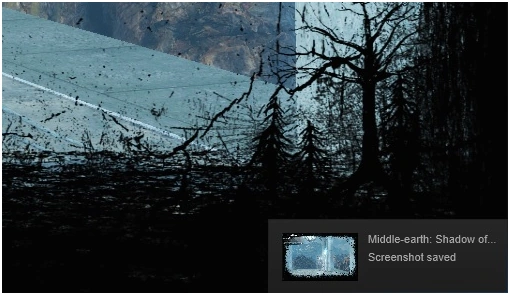
- 1. Once the UI is toggled off, press F12 on the keyboard to take a screenshot through the Steam overlay.
- 2. After the capture, press the 'Shift+Tab' keys on your keyboard to bring up the Steam overlay.
- 3. Select the 'View Screenshots' button on the lower left part of the screen to bring up your captured shots.
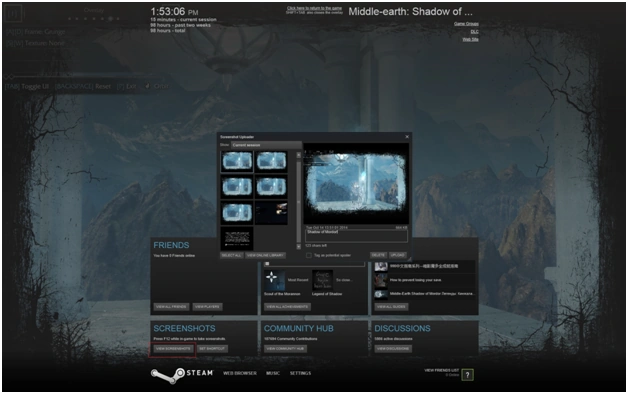
- 4. From here, you can:
- a. View scrienshots taken this session.
- b. View all your screen shots taken for a particular game.
- c. View your online library.
- d. Add a caption and upload a screenshot to the online library.
- 5. Select any number of screenshots you wish by Shift+Left Clicking pictures.
- a. If you wish to select all of your shots, you can hit the 'Select All' button next to the 'Online Library' option.
- b. Please note that if you wish to add a caption, you will need to upload the photos individually.
- 6. To upload your selected picture, make your selection and hit the 'Upload' button.
- a. You can add a caption to individual photos as well as flag them as a potential spoiler.
- 7. In the upload window, decide if you want your pictures:
- a. Private, Friends Only, or Public.
- b. Share to Facebook.
- i. Note: If you share to Facebook, your pictures will be shared based on your own personal Facebook privacy settings.

- 8. Once your choices have been made, select 'Upload' again and it will transfer to the cloud.
- a. You can view these pictures through your Online Library at any time.
- 9. If you wish to delete your pictures from the library, simply select the shot(s) in question from your screenshot list and select 'Delete'.
- a. It will give you the option to confirm as well as to delete it off of the Steam Cloud.
Capture Using Print Screen[]
- 1. Once the UI is toggled off, use the ‘Print Screen’ button of your PC keyboard to capture the picture.
- a. Note: The Print Screen option may only work if you are running the game in Borderless mode. This option can be set in Options -> Video Options -> Display Mode.
- 2. You can then open the picture editing program of your choice, such as MS Paint, and copy your picture into that program.
- 3. Save the picture in the format of your choice and the picture is now ready to be stored on your PC or uploaded to the social media site that you prefer.
PlayStation 4[]
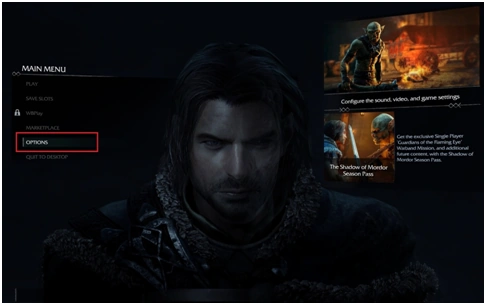
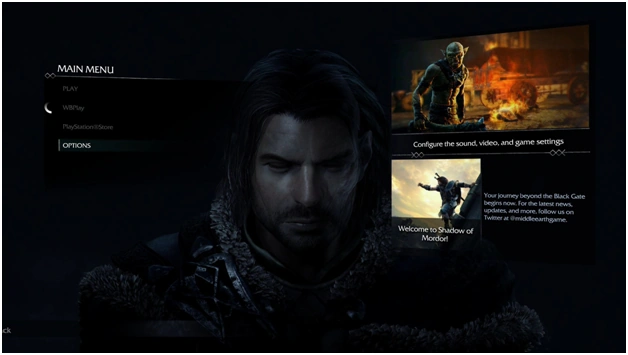
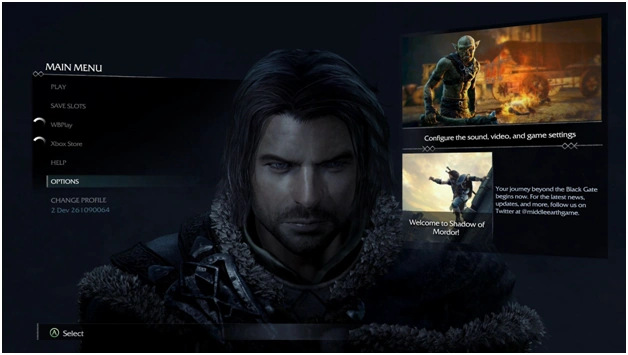
- 1. In the main menu, select Options. (This can also be done in the Pause Menu while in game.)
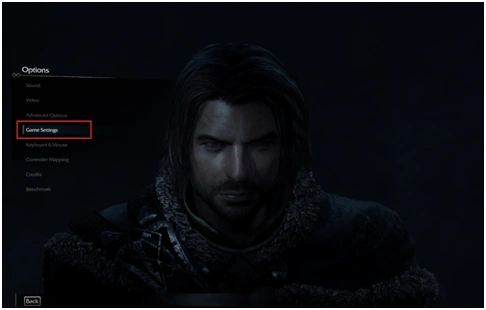
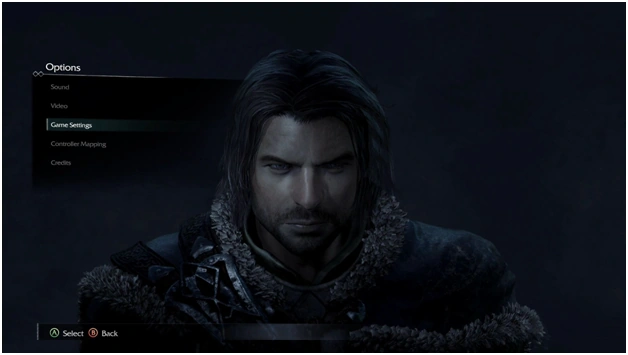
- 2. Select Game Settings.
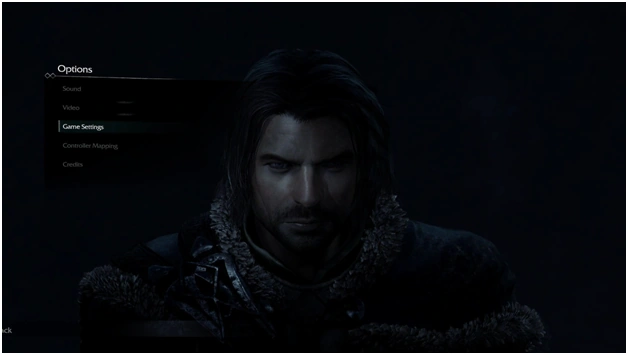
- 3. Select the 'Allow Photo Mode' option.

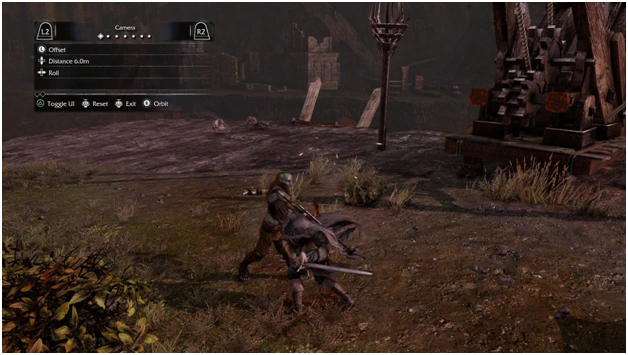
- 4. While in game, press (L3).
- 5. From here, you can select several different options to set up your shot to your liking. Using the L2/R2 to move through the tab options.
- a. Camera:
- i. Allow setting up the camera position.
- b. Field of View:
- i. Controls the zoom of the camera.
- c. Depth of Field:
- i. Allows focus of range and intensity based on a set distance.
- d. Filter:
- i. Adds a lens filter to the shot as well as the intensity of its affect.
- e. Vignette:
- i. Adds a vignette to the shot, can control size and intensity of the effect.
- f. Overlay:
- i. Adds a frame, such as film bars, to the shot.
- ii. Also able to add textures such as film grain for effect.
- g. Adds a logo to the shot that can be placed almost anywhere on screen.
- a. Camera:
- 6. Once you're satisfied with the way your photo looks, press the 'Share' button on your PS4 controller.
- 7. Press the Triangle button to save the screenshot.
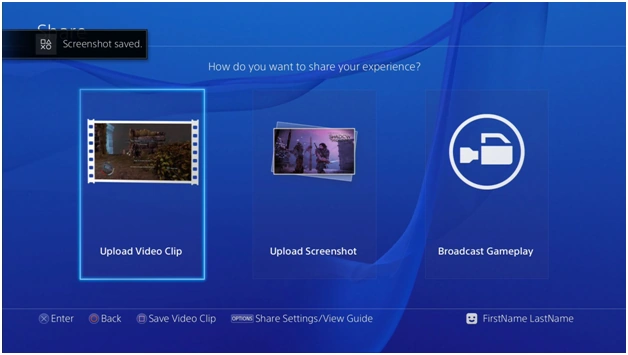
- 8. If your Facebook account is connected to your PSN account, you can then share your new screenshot to Facebook.
- 9. Alternately, you can access your screenshots through the Capture Gallery.
Xbox One []
- 1. In the Main Menu, select 'Options'. (This can also be done in the Pause Menu while in game.)
- 2. Select 'Game Settings'.
- 3. Select the 'Allow Photo Mode' option.
- 4. While in game, press (LS).
- 5. From here, you can select several different options to set up your shot to your liking. Using the LT/RT to move through the tab options.
- a. Camera:
- i. Allow setting up the camera position.
- b. Field of View:
- i. Controls the zoom of the camera.
- c. Depth of Field:
- i. Allows focus of range and intensity based on a set distance.
- d. Filter:
- i. Adds a lens filter to the shot as well as the intensity of its affect.
- e. Vignette:
- i. Adds a vignette to the shot, can control size and intensity of the effect.
- f. Overlay:
- i. Adds a frame, such as film bars, to the shot.
- ii. Also able to add textures such as film grain for effect.
- g. Adds a logo to the shot that can be placed almost anywhere on screen.
- a. Camera:
- 6. Once you have the shot that you want, press the Xbox button and select 'My Games & Apps'.
- 7. Select 'Apps' > 'Game DVR'.
- 8. Press the Xbox button again and select Middle-earth: Shadow of Mordor.
- 9. Double tap the Xbox button and select 'Start new clip' > 'Start recording' > 'Stop recording'.
- 10. Press the Xbox button and select “Upload Studio”.
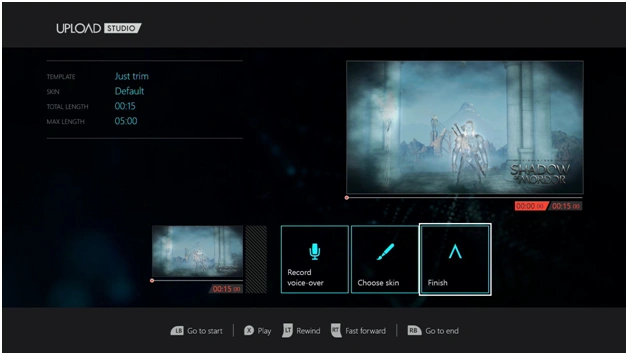
- 11. Select “Start editing” > “Just trim” > “Choose Game DVR” then choose the clip that you just made.
- 12.You can now trim the video if it is too long and once you are finished, select “Finish”.
- 13. Enter a name for your clip and continue.
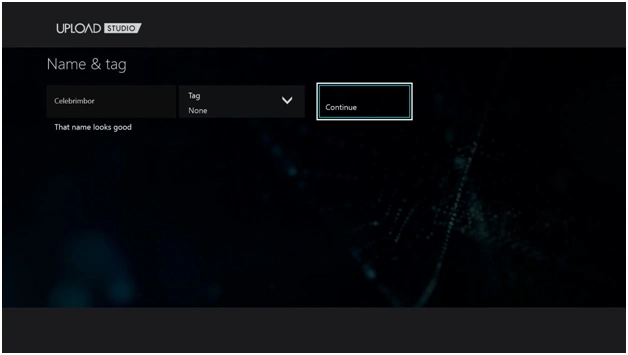
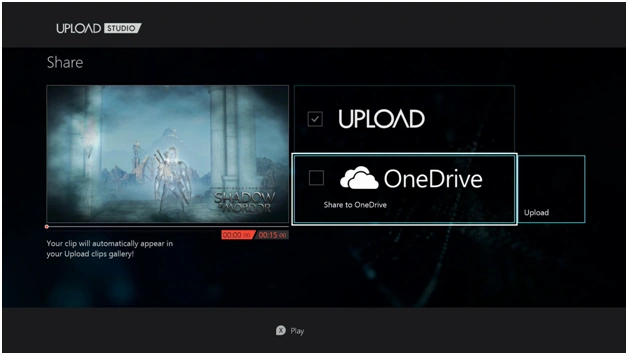
- 14. Make sure you check the option to upload to OneDrive and select “Upload”.
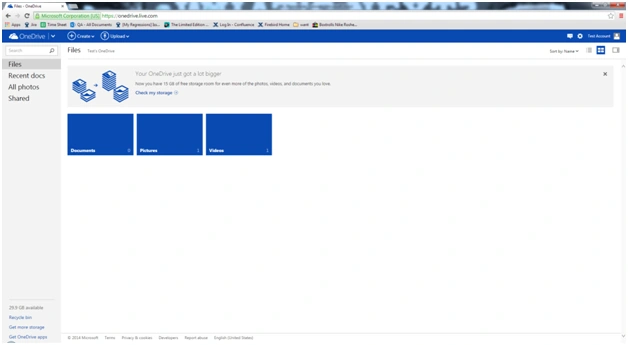
- 15. Once the clip is finished uploading, go onto your computer and go to www.onedrive.com

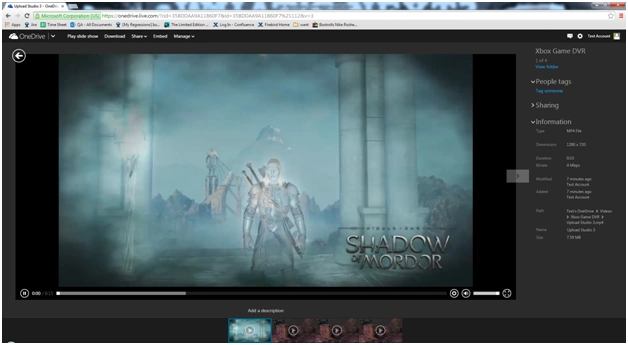
- 16. Sign into OneDrive using your Xbox Live credentials and select the video that you just uploaded from your Xbox One.
- 17. You can either download the clip, or play the clip and use the ‘Print Screen’ button of your PC keyboard to capture the picture.
- 18. You can then open the picture editing program of your choice, such as MS Paint, and copy your picture into that program.
- 19. Save the picture in the format of your choice and the picture is now ready to be stored on your PC or uploaded to the social media site that you prefer.